Thursday, 29 August 2019

Chicken Tequila Burgers

August is on its way out the door.  (insert complaining about no summer here, lol)  If you live nearby to me, you know what I’m talking about here – your tan lines probably suck too.

When it’s warm and summertimey, I want to share all the burgers I make because I 100% rationally believe that you lovely readers only barbecue when I do.  And I only barbecue when it’s above 10 degrees.  Haha

Imagine my surprise when people tell me they will barbecue when it’s -20C outside.  Those people are crazay!!!

And while we have a little time left before the snow flies and I close up my barbecue for the winter (listen.  It snowed on September 13th last year.) I wanted to share this chicken burger with you. 

Guys.  I MAJORLY struggle with the idea of ground chicken.  I know I’ve said this before, but ground chicken is DRY and BORING – at least, that’s what I’ve always been told.

So I was really holding my breath when I pulled this burger recipe out of my “recipes to try” troves. 

Let’s get on with it shall we?

I deterred here from the original recipe which called for chicken breasts and then to combine everything in a food processor and grind the chicken yourself.  Meh.  I couldn’t really be bothered to do that.  I felt like it was an unnecessary extra step.


In a large bowl.  Combine the ground chicken,


Jalapeno peppers,


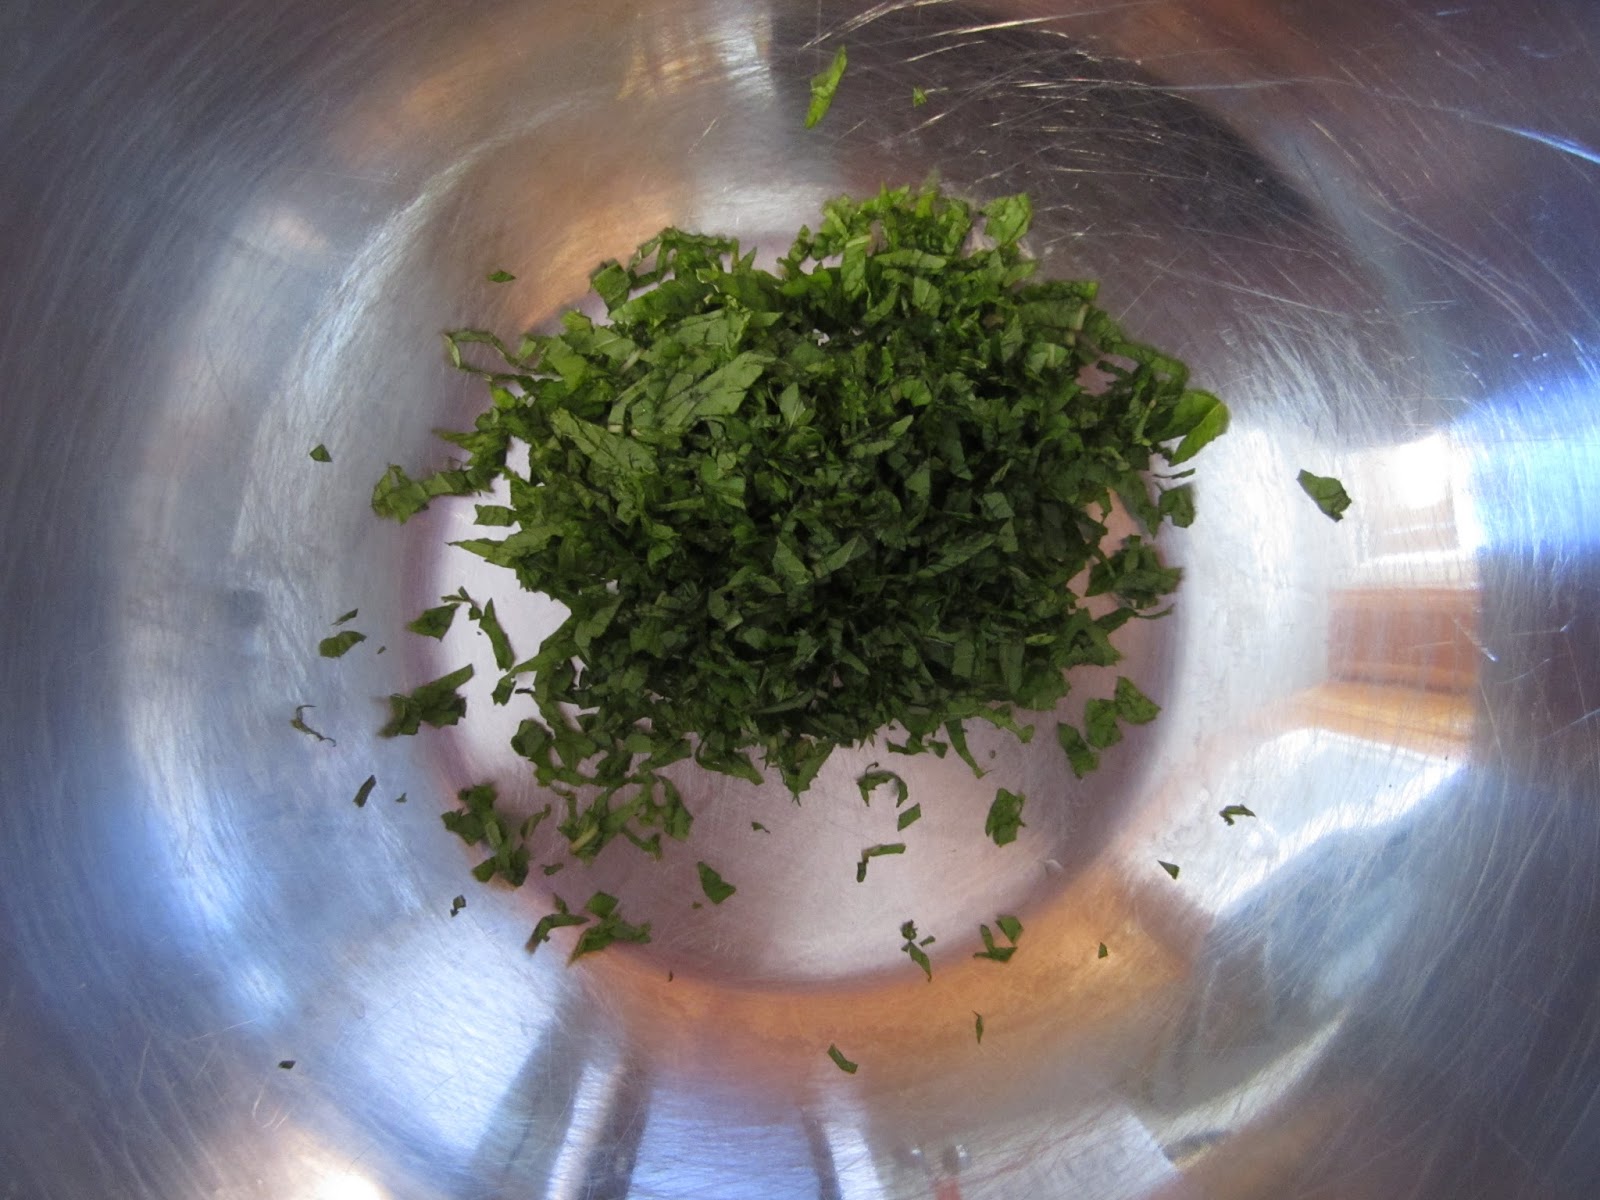
Cilantro,


Garlic,


Lime zest and lime juice,


Salt and pepper,


A dash of soy sauce and panko crumbs.


Mix it until JUST combined and form into patties.  I would absolutely recommend placing the patties on pieces of parchment paper.  It makes them SO easy to then flip onto the grill.  Otherwise they stick and fall apart and are just generally a pain.


Grill for 5 – 7 minutes each side.  (or if you’re a worrier like me, a couple of extra minutes on the grill won’t hurt  lol)


I honestly had no idea what sauces/condiments to pair with these burgers.  Maybe a chipotle mayo?  Maybe just a lime cilantro mayo?  Ketchup just seemed like all kinds of wrong.  I opted for plain mayo and it worked out really well.


I also topped them with Monterey Jack cheese.  Cause I wanted to, that’s why.


And the suggested onions and peppers.


I am absolutely certain that if not seasoned properly, chicken burgers can be so bland and boring it would make a person weep.  These burgers do NOT fit that bill.

They are flavorful and juicy and the tequila flavor wasn’t lost during cooking (which I’ve found often happens).  Dannika was not a huge fan – mostly because of the significant tequila taste – but us grown-ups LOVED these burgers.  The peppers and onion are a perfect accompaniment (though using ONLY grilled onions would be amazing) and the Monterey Jack cheese also made the burger just a little extra.

Maybe the tequila in these burgers will help make summer's exit a little bit easier.


Thursday, 15 August 2019

Moroccan Burgers

Sometimes, you're never sure how something is going to turn out.

When I saved this burger recipe on Tastespotting, I was sort of ho-hum about the whole thing.  I wasn't sure about the slaw, or the combo of mint and beef - it sounded pretty out there to me.

And sometimes - fusion doesn't always work very well.  Sometimes it's a giant flop.

But this time - I decided "heck, why not - we can always order a frozen pizza".

And by order, I totally mean cook.

The first thing you need to do is make the slaw.  DON'T skip this!  I swear it will sound weird and when you're putting this together it's going to boggle your mind.  But it is SO good!

You'll need carrots, fennel, mint, honey, lemon juice, olive oil, cumin, and cinnamon.


You're going to want to cut the fennel and the carrot into matchsticks.  If your knife skills are a little rusty - I recommend using the big holes on a grater.  


Add finely chopped mint.


Then, in a small bowl, combine the honey, 


Olive oil,


Lemon juice, 


Add the cinnamon and cumin.  Whisk it all together.


Pour the dressing over the carrot and fennel and toss to coat.


Set the slaw aside and put together the patties.

You'll need lamp and pork (I used beef and pork), feta, mint, salt, Dijon, cayenne, and cumin.


Add finely chopped mint to a large bowl.


Add the feta.


Add the Dijon and salt.


Add the cumin.


Add the cayenne.


Add the beef, pork, and an egg.  The original recipe doesn't call for an egg, but I felt like it needed it.


Mix it all together and form into patties.  I would suggest letting the patties rest for a couple of hours.  This will let the flavours blend together a little more.


The slaw was worth it and worked so well with the burger.  Definitely make sure the cut is very small - or if your knife-skills are a little wanting (like mine), use the large holes of a cheese grater.  Or the grater blade in your food processor (if you've got one).

I loved the blend of flavours in the patty.  It feels strange to put mint into beef (assuming mint goes with sweet), but the mint lent a coolness that enhanced the spices in the burger.  So definitely don't leave it out.

I served this with couscous and Caesar salad.  It would be hard to say what a great pairing with these burgers would be - there is a lot going on in these burgers.

Now - the recipe.  The recipe was originally posted on Familystyle Food, but when I went to link to it, it was gone.  I messaged Karen, who is the owner/writer of Familystyle Food and she said she intends to re-post the recipe with updated pictures, etc.  I'm going to post the link to the blog below and when she posts the recipe I'll provide an update.

Enjoy!
Heather

Familystyle Food

Friday, 17 May 2019

Firecracker Burgers

I know it's been spotty here in this corner of the world for a while.  I have to be honest with you - two things.  First - when I'm off work I can barely bring myself to sit and look at the computer and think about how to tell you about this amazing food!  Second - when inspiration does strike, I'm usually tucked up at my desk at work and just simply CAN'T write.

But my goal for the remainder of the year is to do a little bit better. 

I thought I would come back to you and kick off burger season with these AMAZING Firecracker Burgers.  A simple burger topped with Monterey Jack cheese, red onions, chipotle ranch sauce, and deep fried jalapenos. 

With all these things going on, one would assume that the burgers would be mega-spicy - but fear not.  Even someone who doesn't like heat will love these!

Make sure your buns are ready!

Make your burger patties and set them in the fridge while you prep the rest.

Stir together the ranch dressing and chipotle peppers.  Pop those in the fridge while you're doing the jalapenos.

In a bowl, combine the flour and salt,


Chili powder,


Cumin,


Garlic powder and pepper.


Whisk in the beer.  Make sure your oil is heated to 350 degrees F.

Slice the jalapenos and remove the seeds and membranes.  If you want the jalapenos to have more heat, then leave the seeds and membranes in place.

Dredge the jalapeno slices in flour.


Then dip the floured slices into the beer batter.  Let the excess drip off and fry in the hot oil, three or four pieces at a time, for 3 to 4 minutes.  When the slices are JUST golden brown, remove them from the oil.

I drain mine on paper-towel lined cookie sheets.  I also keep them in the oven at 220 degrees F to keep them warm and crispy.


When the jalapenos are all cooked, cook the burger patties, and get ready to put them together.

Start with the patty, then add the Monterey Jack cheese.  Spread the Chipotle Ranch Sauce on the top bun.


Add some red onion.


Top with the jalapeno slices.


Et voila.


Boom shakalaka.


Be still my heart.


These have been in my top 10 burger list since I made them!  I love the smoky ranch sauce with the crispy jalapenos and the cheese and the beef.  It all makes me so happy.

I made these for my brother - and he's notorious for not requiring much of anything on his burger.  But he piled his burger high with these pieces of jalapeno!

Even if you're not a jalapeno lover, you will still LOVE these burgers.  It's worth the time it takes to deep fry the jalapeno slices.  And don't be cheap - do three or four jalapenos!  You'll use more on your burger than you think.

And then you always have the leftovers to munch on with the ranch sauce!!

Happy Summer to us!

Friday, 29 March 2019

Oreo Layered Dessert

You guys are gonna hate me after this one.

But not because it's SOOOO delicious you're going to want to add it into your regular rotation, but because one of the ingredients isn't readily available here in Canada.

Sorry.  But if there are any American readers peeking in - hey!!!

Before we get TOO much further - we have to talk about this recipe.

We all know it.  There are a zillion different versions of it - there are a couple here on this blog even.  The most popular one is a walnut crust with chocolate and vanilla pudding topped with chocolate shavings.

Lots of people call it Lush.  Some people call it Better than Robert Redford.  I believe in my family the original name was Gram's Special.  We call it Sex in a Pan.

Or - Love in a Pan if you have an 8 year old niece and you can't say that word in front of her.

This is just another version of it.  I incorporated Michelle's crust for her version of this dessert because it made the most sense - and the rest is just like every other version of Sex in the Pan out there.

First - open a package of Double-Stuff Oreos.  But don't eat them all.


Woosh them in a mini chopper so you get fine crumbs and chunks.


Pour in some melted butter.


Press the Oreos into a 9 x 13 inch pan and keep in the fridge.


Then, start the cream cheese layer by combining icing sugar and cream cheese.


Fold in whipped topping (**Cool Whip**).


Then spread evenly on the cookie crust and put back in the fridge.


Next to make the pudding layer.  You're going to need Oreo Cookies and Creme pudding mix.  I bring mine back from the States, but lately it's been getting hard to find.


Pour milk into a large mixing bowl.


Then add the pudding mix.


Once the pudding has thickened, spread over the cream cheese layer.  Pop it in the fridge for a bit longer.


Spread more whipped topping (**Cool Whip**) over the pudding layer.  


You can decorate this however you choose.  Small chunks of Oreos (I didn't do this because I polished off the rest of the Double Stuffed - oops), or mini Oreos or chocolate chips or chocolate curls or whatever your heart desires.

Because I was in a hurry - the picture you see above was the last one I took of this treat.  I decided to go with the mini Oreos - in case you're curious.

It was DELICIOUS.  It's a total sin that we can't get this pudding in Canada because I think of all the versions I've tried, this one is in my top 5 favorites!

If you happen to come across Cookies and Crème pudding, grab a whole bunch and maybe send me some too!   (I would like you long time)

If you can't - you could always just sub in one box chocolate and one box vanilla like my family recipe and it would be delicious too!  But then I would really encourage you to chunk up Oreos for on top.

One more thing.  This dessert is best made one day in advance of serving.  It gives the layers time to firm up.  Trust me on this one.

Enjoy! - Heather