Friday, 20 March 2015

Jalapeno Popper Grilled Cheese Sandwich

Holy crap you guys.

I made this sandwich.  This sandwich.  Then I proceeded to think about it and crave it for DAYS afterward.  I'm totally obsessed.

My job for the day was to pick up one furry puppy, and one sassy little girl and hang out with them until my brother got home from work.

Pretty solid job.

And - being responsible for said puppy, girl, and brother - I also had to figure out what to feed them.

My kid brother digs spicy food.  While I'm not into the esophagus-melting, eye-tearing, cough-inducing heat that he likes, I'm not opposed to a little spice to make things interesting.

And I know for sure that my brother's wife doesn't like jalapeños, so really - it kind of ended up being a no brainer. 

Last year, I made this killer jalapeno popper pizza that was surprisingly awesome and figured - why not put it into a sandwich?

It only takes a few ingredients - but a little bit of patience.  So stay with me.  It'll be worth it - I promise. 

 
I absolutely insist that you use Texas Toast Sandwich bread.  I mean - you could totally use regular bread, but I feel like the Texas Toast bread is where it's at for this sandwich.
 
First things first, I recommend roasting the jalapeños.  It makes the flavor just that much more intense. 
 
To do this, preheat your oven to 450 degrees F and line a baking sheet with aluminum foil.  Place the jalapeños on the baking sheet and roast in the oven for about 20 minutes, turning every 5 minutes or so.  You'll hear the jalapeños making a popping sound when the skins pull away from the pepper.
 
After the skin is bubbled all the way around the pepper (about 20 minutes), put the peppers in a zip-loc bag and close.  Let cool for about 10 minutes, or cool enough to handle.
 
Then peel off the skin, cut in half, scrape out the seeds and membranes and dispose chuck out with the skins.  For more heat, you can leave some of the seeds (the seeds and membranes are where the heat truly is).  Mince up the remaining flesh of the pepper. 
 
Like I said.  It takes some time, but it's seriously worth it.


Here's the thing.  I don't have any measurements for you.  I kinda just eyeballed combining the jalapeno and cream cheese until I thought it looked good.


Once the cream cheese is combined with the jalapeno, take two pieces of bread and two slices of medium (sharp would be good too!) cheddar cheese and put one on each piece of bread.
 
 
Then spread the cream cheese mixture on top of the cheddar.

 
The slap those two pieces of bread together.
 
Before I continue - there are two things you need to know.  Then pan should be well-heated on medium low (like, number 3 if you've got numbers on the cooktop)...  This will ensure that the bread gets toasted, the cheese gets gooey, but the bread doesn't dry out.  It takes a little longer to cook, but it's worth it.
 
The second thing you need to know is that the bread should be buttered all the way to the edges.  Make sure the butter is super-soft and spread, spread, spread to the edges.
 
Then drop that sandwich onto the pan and let it cook.  Don't fiddle with it too much.

 
After a few minutes, lift up the edge and check to see if it's golden and flip it over.
 
However, it's totally my personal preference to have my grilled cheese sandwiches super-golden and crisp, but not hard.

 
Once both sides have been cooked to golden, I flipped it one more time, just to make sure the middle was hot and the cheese was gooey.

 
Whew - check out that cheesy, gooey, deliciousness.

 
The sandwich is creamy, cheesy, a slight hit of spiciness from the pepper and the bread is perfectly toasted and buttery-crisp.
 
And on my brother's sandwich?  I actually cut a couple extra jalapeños (roasted) in half and flattened it out and slapped them in the middle. 
 
And my niece's sandwich?  She didn't get any jalapeños at all and totally CRUSHED her cream-cheese, cheddar grilled cheese sandwich.  Which would be awesome also. 
 
You know what would also be awesome?  Bacon.  Bacon on this sandwich would also be awesome.  I mean, you're already there, why not go just a little further.
 
Really - the possibilities to make this totally a personalized sandwich are endless.  Why don't you give it a try?!
 
xoxo - Heather

Monday, 16 March 2015

Irish Soda Bread

Ah Spring.  The warmer weather can only mean one thing.

St. Patty's Day!

Now - for those of you who remember why, I decided a number of years ago to boycott St. Patty's Day parties.  I just kind of think it was the appropriate thing to do.

But I didn't boycott the food!  Which has resulted in a number of delicious stews, breads, and desserts.

Maybe next year I'll be brave and make colcannon.  I don't really know what that entails, but I'm sure it will be delicious.

This year, I tested a different Soda Bread recipe.  The actual name of the recipe is 'Classic Irish Soda Bread', but I can't imagine that cake flour was readily available to the general population.  But whatever.

Let's just call it classic.

 
In a large bowl, add the all-purpose flour.

 
Then the cake flour.

 
Then the sugar.

 
The baking soda.

 
And the cream of tartar.  (which is often difficult to come by in my neck of the woods.  Seriously.  I have witnesses)

 
Then toss in the butter.  Use a fork to break up the butter in the bread.  You can use a fork, but I also used my hands.

 
And then stir in the buttermilk.

 
You want to stir in the buttermilk using a fork until it forms a loose dough.
 
Turn it out onto the counter and knead it together until it's JUST combined.  If you stop when the dough is smooth, it'll come out of the oven tough.  It should be lumpy and ugly looking.  That's when you know you've got it right.
 
Then form the ugly dough into a 6-inch circle about 2 inches thick.  And place it on a parchment-lined baking sheet.


And, using a very sharp knife, cut a cross-shape  - not too far down.  I'd say about an inch.

 
Then the dough gets baked in a 400 degree oven for 40 minutes or until a skewer inserted into the center comes out clean.

 
The result is a heavy, dense, chewy bread that is totally perfect for sopping up rich, luxurious gravy from a stew - like this one.  (I love this stew, I think you will too!)
 
Just so you know, I that found the next day the leftovers seemed to be dry, but I heated it gently in the microwave and it softened right up. (3 minutes at 30% power)

I hope your St. Patty's Day is bright and fun!

An Irish Blessing from my favorite Irishman:
May you have love that never ends,
Lots of money, and lots of friends.
Health be yours, whatever you do,
and may God send many blessings to you!

xoxo - Heather

Wednesday, 4 March 2015

Lemon Basil Shrimp Risotto

I was thinking about doing something comforting and filling because - well - Winter.  But instead, I'm going to knock you sideways and make you something that will make you think of sweet summer breezes and warm sunshine.
 
Risotto.
 
Lemon Basil Shrimp Risotto. 
 
Oh yeah.
 
 
Heat butter in a pan and add the shrimp. Cook until done - about 3 minutes.  Shrimp cooks very quickly. 
 
Oh - and make sure you give it a flip so both sides cook evenly.

 
Give the shrimp a rough chop.

 
In the same skillet, add the onion.

 
And the garlic.

 
Once the onion is translucent, add in the rice and stir it around.

 
Then add the white wine.


Once the wine is absorbed, start stirring in the broth 1/2 a cup at a time stirring until absorbed before adding more.

 
During one of the additions of chicken broth, add in the salt and pepper.

 
Once the rice is nearing al dente, stir in the lemon juice and the zest.

 
Once the rice is al dente, stir in the heavy cream.

 
And the shrimp.

 
And the basil.

 
Serve with extra lemon zest (if desired) and a little Parmesan cheese on top.
 

It's completely perfect for today.  Or for July.  But really for today when we desperately need to be reminded of summer and the way it feels.  Or tastes, as it were.  And for me, this is what summer tastes like.  Lemony, fresh, tangy, with the savory sweetness of the basil (which I positively love and will put on almost anything), creamy, and delicious. 

I totally think you'll love it!  Make it today.  It just might propel you through to the spring.

xoxo - Heather

Tuesday, 10 February 2015

Mexican Rice

If you've been a fan of the blog for a while, you may remember that I've done Mexican rice before.  And if you don't remember, that's okay too - because I kind of want you to pay attention to this one!
 
And while that one was completely fine, it was fairly labor intensive.
 
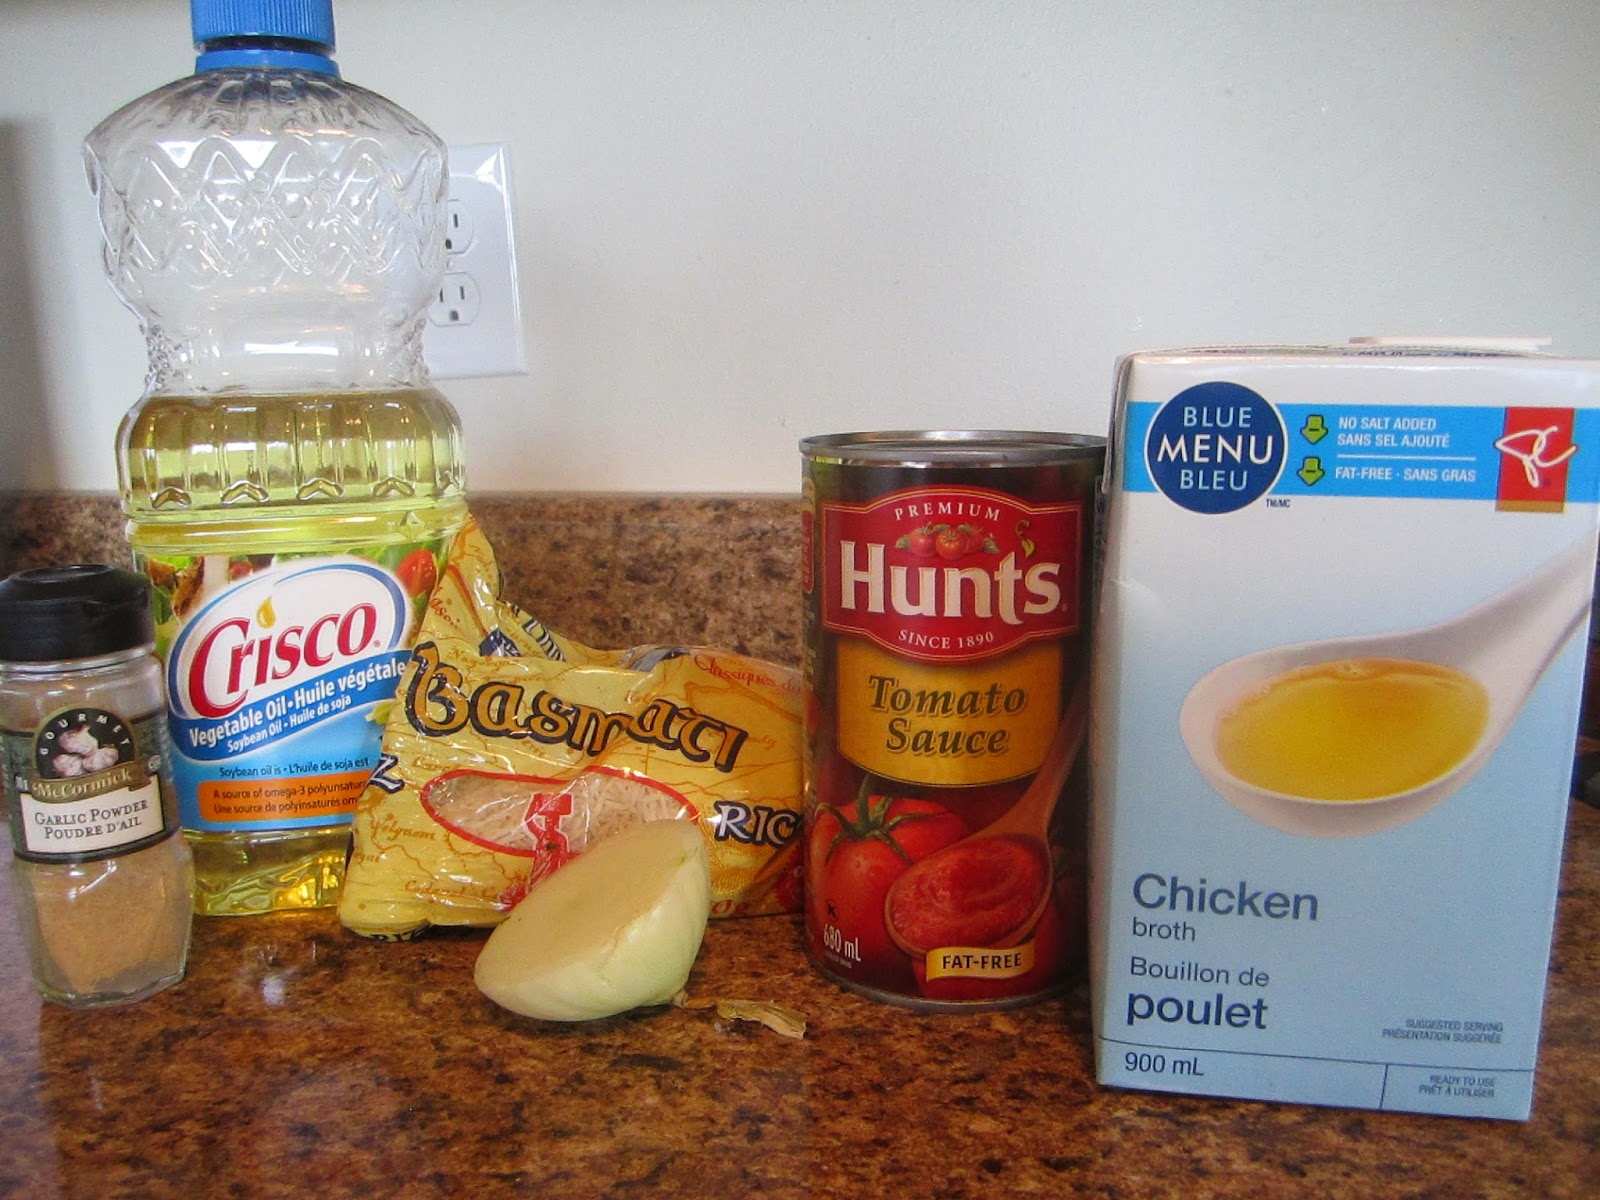
I liked that Michelle's recipe only has 5 ingredients.  Then I could focus on other stuff.
 
Like tending to a variety of kitchen-related injuries.  Such as a burned arm (bottom of a pot) and almost cutting through my finger, but just making it most of the way into the nail bed.
 
Yeah. Kind of a hard couple of days! 
 
On to the rice.


Heat the oil  in a medium pot on the stove and add the rice.


While the rice is cooking in the oil, add the garlic powder.  To be honest, the recipe calls for garlic salt - but I never seem to have any. 

You might also want to add some cumin.  It would also be fantastic.
 
 
After the rice is golden and super-fragrant (trust me - you'll know, my niece came into the kitchen and asked me what that smell was), add in the onions.

 
Cook until tender and add the tomato sauce.

 
Then add the chicken broth, bring to a boil, cover, and simmer for 20 - 25 minutes.

 
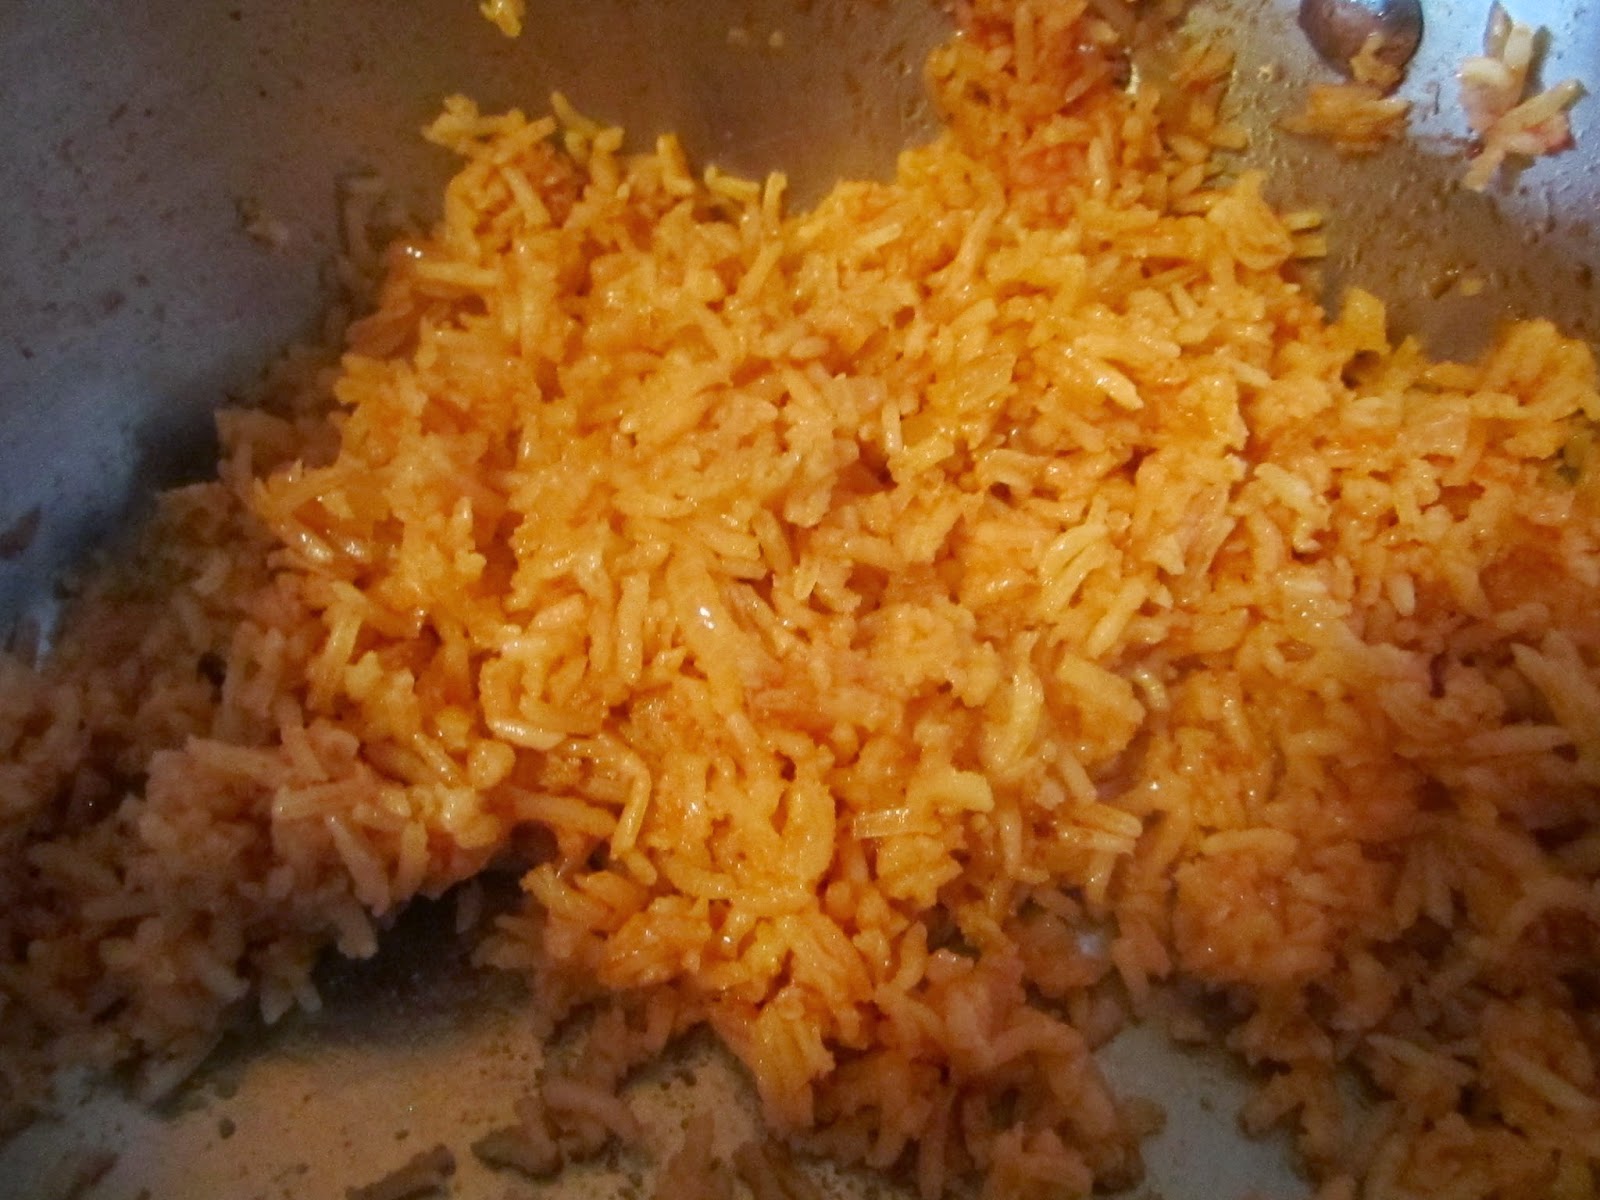
Fluff the rice with a fork and serve.

 
Yep - this rice was delicious.  It was hearty and full of flavor and this beautiful orangey-red color.  I loved it.
 
It's perfect side for Mexican meatloaf, tacos, chimichangas, or whatever you'd like to serve as a main - you absolutely don't need to save it for a Tex-Mex meal!
 
I'm not imagining that it's overly healthy due to the pre-cooking in oil business, but you only live once and you're probably not going to whip this up every day of the week.
 
But you might want to!
 
Enjoy!  xoxo - Heather