Tuesday, 5 March 2019

King Bundt Cake

Mardi Gras is coming!  Not that this means too much for us in Canada.  We're still dealing with snow and ice.

But this does not mean that we can't celebrate it!

King Cake has deep roots in theology.  This cake is generally served between King's Day (January 6th, also known as the Twelfth Night) and Fat Tuesday and is served during this time to celebrate the coming of the Three Kings (when they came to Bethlehem to bring gifts to Jesus).

The cake is also typically topped with a simple icing colored in green, gold/yellow, and purple - which also contains quite a bit of symbolism.  Green for faith, gold/yellow for power, and purple for justice.  These are also the colors of Mardi Gras.

King cakes are baked sometimes with coins or small toys inside - but mostly there is a small, plastic baby baked into the cake.  Whoever finds the baby is supposed to have good luck for a year.

There was no baby baked into the cake this time.  lol

I made this before and when I told my sister-in-law that I was making it again, she said "you already made that!".  But - the truth is - I messed it up.  The first time I made it, I wasn't really paying attention and tossed in active dry yeast instead of instant yeast.  It actually ended up rising and turned out pretty good - but I wasn't totally 100% please with it.  So we're revisiting the recipe.

King Cake - isn't cake.  If you hadn't already guessed from my comment about yeast.  lol.  King Cake is actually a sweetened yeast bread, sometimes filled with cinnamon, chocolate, etc.  In this particular case, there is a ground pecan, cinnamon, and sugar filling spread on the bread and then it's rolled up like a cinnamon bun, formed into a circle, and baked in a bundt pan.

And it's delicious.

Gather everything up.


In the bowl of a stand mixer combine the milk,


And the eggs,


And whisk together with the melted butter.  Make sure the butter is not too hot and that you whisk constantly as you're adding it to the milk and eggs - you don't want to cook the eggs.


Then add the flour,


The sugar,


The yeast,


The salt,


Then, with a wooden spoon, stir everything together until it just comes together.


Then turn the mixer on low and let the stand mixer do the work!  The dough is going to look SUPER sticky - but don't add any more flour.

Once done mixing, scrape the dough out of the stand mixer bowl into a greased bowl.  I used a sturdy silicone spatula - one that doesn't have much flex.  


Cover the bowl with plastic wrap and let rise for 1 1/2 to 2 hours.

Then get the filling ready.  Gently toast the pecans in a pan - making sure not to burn.  Use low heat and swish the pecans around constantly.  Just be patient.  They'll start to be fragrant when they're toasting. 

Pay attention when you pull them off the heat too.  If you're going to leave them in the pan to cool, make sure you swish the pecans around a couple of times so they don't burn (because they will - trust me).


Combine the pecans and brown sugar in a bowl.  


Add some cinnamon.


And set aside until ready to use.

When the dough has finished its rise, roll out into a large rectangle.  


Gently rub a little water (not much!) across the surface of the dough.  Then, spread the pecan mixture across the surface - leaving a small border around the edges.


Then, just as if you were making cinnamon buns, start rolling the dough.  I suggest rolling towards you.  Once the dough is rolled into a tube, pinch the edge shut.


Then, lift the tube into a greased bundt pan seam side up.  Let rise in the pan for 30 minutes.


After baking and allowing the cake to cool, make the icing.


Combine the icing sugar and the milk.  It won't seem like enough milk, but just keep stirring and the icing with come together.


Divide the icing sugar mixture into three bowls and color in yellow, green, and purple.


This came out with a really soft tender bread and the pecan filling is really fantastic!  Not gooey like a cinnamon bun - but essentially the same thing.

Today is Fat Tuesday - or Shrove Tuesday - and I think this is fantastic way to get ready for Lent to start.

Enjoy!  I hope you find yourself at a Mardi Gras party or two!


Saturday, 2 March 2019

Etouffee

Going to Louisiana and hanging around in the "Big Easy" is on my bucket list.  I'm pretty sure it's on most people's lists.  The mysteries of the region are intriguing - the way the dead are celebrated, the parties and parades, the voodoo, the food, the history.  And I really want to learn more about the FOOD part.

The cuisine from Louisiana is a beautiful dance of Cajun and Creole - which are actually pretty similar, except for the areas the dishes come from.  Cajun typically refers to "country food" and Creole refers to "city food", and both have heavy influences of French bases.

Cajun food is slightly more simple and is typically well seasoned - but not SPICY, and most dishes will start with a base of onions, celery, and green peppers (the French "mirepoix" uses carrots).  

Creole food is influenced by a variety of cultures borne from the settlers of French colonial Louisiana.  Creole cooking uses a wide variety of ingredients and spices not typically available to Cajun kitchens.

As mentioned before, seasoning is really important in both Cajun and Creole cooking.  The roux is also an important element of many dishes.  There are the "colors" of roux are chosen typically depending on the type of meat being used in the dish.  Blond or light roux is usually used for seafood gumbos, Medium roux (about the color of peanut butter) is most common in Creole dishes and is most versatile, and a dark roux - often cooked to the color of chocolate - is best for gumbos using chicken and sausage.   But this also depends on where the dish is being prepared, by who, and maybe just how they feel that day.  The roux may also be slightly different depending on if the fat base is butter or oil.  An oil roux will typically result in achieving a very dark roux.  And getting to a very dark roux is tricky and requires a lot of attention.

So the big question.  Is Etouffee Cajun or Creole?  

Both.  But they may have slight differences depending on what kitchen the dish is being prepared in.

Linked and overlapped and combined, but still different.  Complex and mysterious.  

With this recipe, I made a medium roux.

First - put together the spice mix.


Salt, paprika, onion powder, garlic powder, dry mustard, black pepper, and a little cayenne.


Stir it all together and then set aside.


Next up is the roux.  This roux has an oil base - which I was actually initially a little weirded out by.  I'm used to a butter based roux - and I was tempted to just do that, but I wanted to try it at least.


Start heating the oil over medium heat and add the flour.


Whisk constantly.  Be patient.  Let the mixture come to the color of peanut butter.  


Remove the flour mixture from the heat and set aside.

Next up is to start the veggie base of the dish.


Heat some oil in a large pan on medium-high heat and then add in the onion, celery, and green pepper.  

Don't be like me and add the tomatoes at this point.  Luckily they didn't all make it into the pan.  (read your recipe COMPLETELY!)


Cook, stirring often, until the veggies are browned and softened.  


Stir in the seasoning mix that was made earlier.


Stir in the tomatoes and thyme and cook until the tomatoes are cooked through.


Add in the roux and stir together.


Add chicken stock and bring to a boil, stirring constantly.  Cook until thickened.


Add in the shrimp and continue cooking until the shrimp are cooked through - about five minutes.


If you've made the Voodoo Shrimp that I had posted about before - you'll know that dish packs a fairly wicked punch.  I even REDUCED the original level of heat in that dish to make it bearable!

This etouffee was lovely - cozy and comforting, the sauce richly flavoured - but not spicy.  It's wonderful comfort food.

It's the perfect kick off to learning a new cuisine in my opinion!

Enjoy!

Friday, 25 January 2019

Lasagna Bolognese

When I was growing up - I went through a phase where all I wanted to eat was lasagna.  To say that Garfield was my spirit animal at the time was an understatement (however, he may still be my spirit animal, lol).

I asked for her lasagna for all kinds of celebrations and special occasions.  And my Mom was totally willing to oblige.  You da best Mom!!

And I never could make it quite the same as her.  And so - I've been hunting around for different recipes that I could call my own that I wanted to eat over and over again.

So when Michelle over at the Brown Eyed Baker posted this Lasagna Bolognese recipe after the meat sauce recipe, I knew it would be something special.

Yes - I'm pretty much obsessed with Michelle's blog - literally everything I've ever made from her has been a triumph and so - I have a giant foodie crush on Michelle's genius foodie brain.

A little more complicated than a lasagna with ricotta or cottage cheese, we're going to start this lasagna with a béchamel sauce.

It's VERY easy to make!


Start out by melting butter in a small/medium pot.


Add in flour and whisk into the melted butter.


Allow the roux (which this is now) to cook for a couple of minutes, until it's kind of golden.  Believe me - when you cook a roux for a few minutes, it changes the flavour of the sauce exponentially.


Next, gradually stir in the milk.  You don't want to pour it all in at once, you want to add about 1/2 a cup at a time and whisk until it becomes a paste, then add more milk, whisk to paste, and so on.  Then you want it to simmer a few minutes until it's nice and thick.


Season with salt and pepper and stir in the provolone.


Now that you have your béchamel sauce ready, you're going to need about 5 cups of meat sauce, about 12 cooked lasagna noodles, and grated parmesan and mozzarella cheese. 

First, throw down one cup of meat sauce.  The three lasagna noodles.


Then more meat sauce.


Then some béchamel sauce.


Then mozzarella cheese.


Then parmesan cheese.


And continue this way for two more layers.

Then, the last layer of noodles goes down, with the last of the béchamel sauce.


Finish with the last of the mozzarella cheese (maybe a little extra if you want!) and the last of the parmesan.


The whole pan gets covered with aluminum foil and baked for an hour.  Then the foil comes off and it gets baked for another 20 minutes or so until the top becomes golden.

Let it stand, then cut and serve it!


Of course - a Caesar salad is usually best with lasagna as far as I'm concerned.  But also think having it with The Bread, is one of the best ideas.


Now, there are a couple things you should know.  Firstly - those pieces in the picture were way too small.  When you cut your lasagna, be more generous.

Secondly.  This was just as amazing leftover as it was on the first day.  Which is usually not the case.  Usually lasagna IMPROVES the next day.  This is the first time I've ever had lasagna that was perfection on the FIRST DAY it was made.

Lastly - you can make this in advance and then freeze it for a quick weeknight meal.  I have done it and it comes out beautifully even after its frozen.  Just make sure you wrap it really well.

I made this with standard run of the mill dry lasagna noodles that were cooked according to package directions.  But Michelle recommends using fresh pasta sheets - either homemade or store bought.  I am beyond excited to make this again (very soon) with fresh homemade pasta!  You should know that although Michelle's instructions are for the (fresh) pasta sheets, I used the same cooking instructions for the standard dried pasta.

I really hope that this makes it into your lasagna rotation - it is SO good and my favorite! (only second to my Mom's Seafood Lasagna)

When I do get around to making this again using fresh pasta I'll do a little update with my thoughts.


Lasagna Bolognese

4 Tablespoons unsalted butter
1/4 cup all-purpose flour
2 1/2 cups milk
1 cup shredded provolone cheese
1/2 cup grated Parmesan cheese
1 teaspoon salt
1/4 teaspoon pepper
5 cups meat sauce
12 - 14 lasagna noodles, cooked according to package directions
1 cup shredded mozzarella cheese (divided)
1 cup grate Parmesan cheese (divided)
  1. In a medium pot over medium heat, melt the butter.  Whisk in the flour and cook, whisking constantly, until the mixture is golden brown and smells nutty. 
  2. Add in the milk, 1/2 cup at a time whisking until combined (it should become thick and pasty after the first few additions).  After all the milk has been added, heat through until simmering and cook until thickened, whisking constantly.
  3. Remove the pot from the heat and stir in 1 cup of provolone cheese, a handful at a time until it's melted.  Stir in the Parmesan cheese, the salt and pepper.  Set aside and allow to cool until room temperature.
  4. Preheat the oven to 400 degrees F.
  5. After the béchamel has cooled, start to assemble the lasagna.
  6. Spread 1 cup of meat sauce on the bottom of a 9 x 13 inch baking dish.
  7. Place 3 noodles in a single layer on top of the sauce.  Spread 1 1/4 cups of meat sauce over the noodles.  Drizzle 1/4 of the béchamel sauce over the meat sauce and gently spread it around.  Sprinkle 1/4 cup of mozzarella cheese over top and 1/4 cup of Parmesan cheese.
  8. Start the next layer by placing 3 noodles in a single layer on top of the cheese.  Spread 1 1/4 cups of meat sauce over the noodles.  Drizzle 1/4 of the béchamel sauce over the meat sauce and gently spread it around.  Sprinkle 1/4 cup of mozzarella cheese over top and 1/4 cup of Parmesan cheese.
  9. Start the next layer by placing 3 noodles in a single layer on top of the cheese.  Spread 1 1/4 cups of meat sauce over the noodles.  Drizzle 1/4 of the béchamel sauce over the meat sauce and gently spread it around.  Sprinkle 1/4 cup of mozzarella cheese over top and 1/4 cup of Parmesan cheese.
  10. Start the final layer by placing 3 noodles in a single layer on top of the cheese.  Drizzle the remaining béchamel sauce over the noodles and spread it out to cover the noodles completely.  Then sprinkle the remaining 1/4 cup parmesan cheese and 1/4 cup mozzarella cheese overtop.
  11. Spray a piece of aluminum foil with non-stick cooking spray and cover (spray side down) the lasagna.  Bake for 1 hour.  Remove the foil and bake for an additional 15 - 20 minutes, until the top is golden.  Remove from the oven and allow to stand for 15 minutes before cutting and serving.
Note:  Leftovers can be stored in the refrigerator for up to three days.  
Note:  The lasagna can be prepped, covered, and refrigerated for up to 3 days before baking to serve.
Note:  The lasagna can be frozen for up to 1 month.
Note:  If the lasagna is cold, add an additional 15 - 30 minutes to the covered baking time, making sure it is heated the whole way through before removing the foil for the final bake time.

Tuesday, 22 January 2019

The Most Amazing Meat Sauce

I want to say that in my old age, I've become incredibly finicky about pasta sauce.  But the truth is that I've always been sort of finicky about pasta sauce.  I prefer cream sauces - sauces that are rich and stick to pasta like a warm, happy coat.

The other thing is that sometimes I find the meat sauce in lasagna too runny and it kind of grosses me out.

Until I met THIS meat sauce and my life was changed.  It's thick and rich and meaty and is amazing in lasagna and on a bed of bigoli pasta too.

It takes some time, so it's a great project for an afternoon - or an evening - that you'll be tucked into your house in your jammies.  Also - it freezes BEAUTIFULLY, so you can make a batch and use it right away, or freeze it for later on.

I actually made this ages and AGES ago for the first time - but totally forgot to take pictures to share with you and decided to hang on to it.  I think though, I've had totally writer's block, because THIS recipe was always the one I wanted to share with you "next" and I never got to do it.  Good thing I like to have some in the freezer "just in case".

The list of ingredients in actually fairly short.


Heat the oil in a large pot or ceramic baking dish.


Add the beef and pork.  (the original recipe calls for beef, pork, and veal - but I can't always get veal)


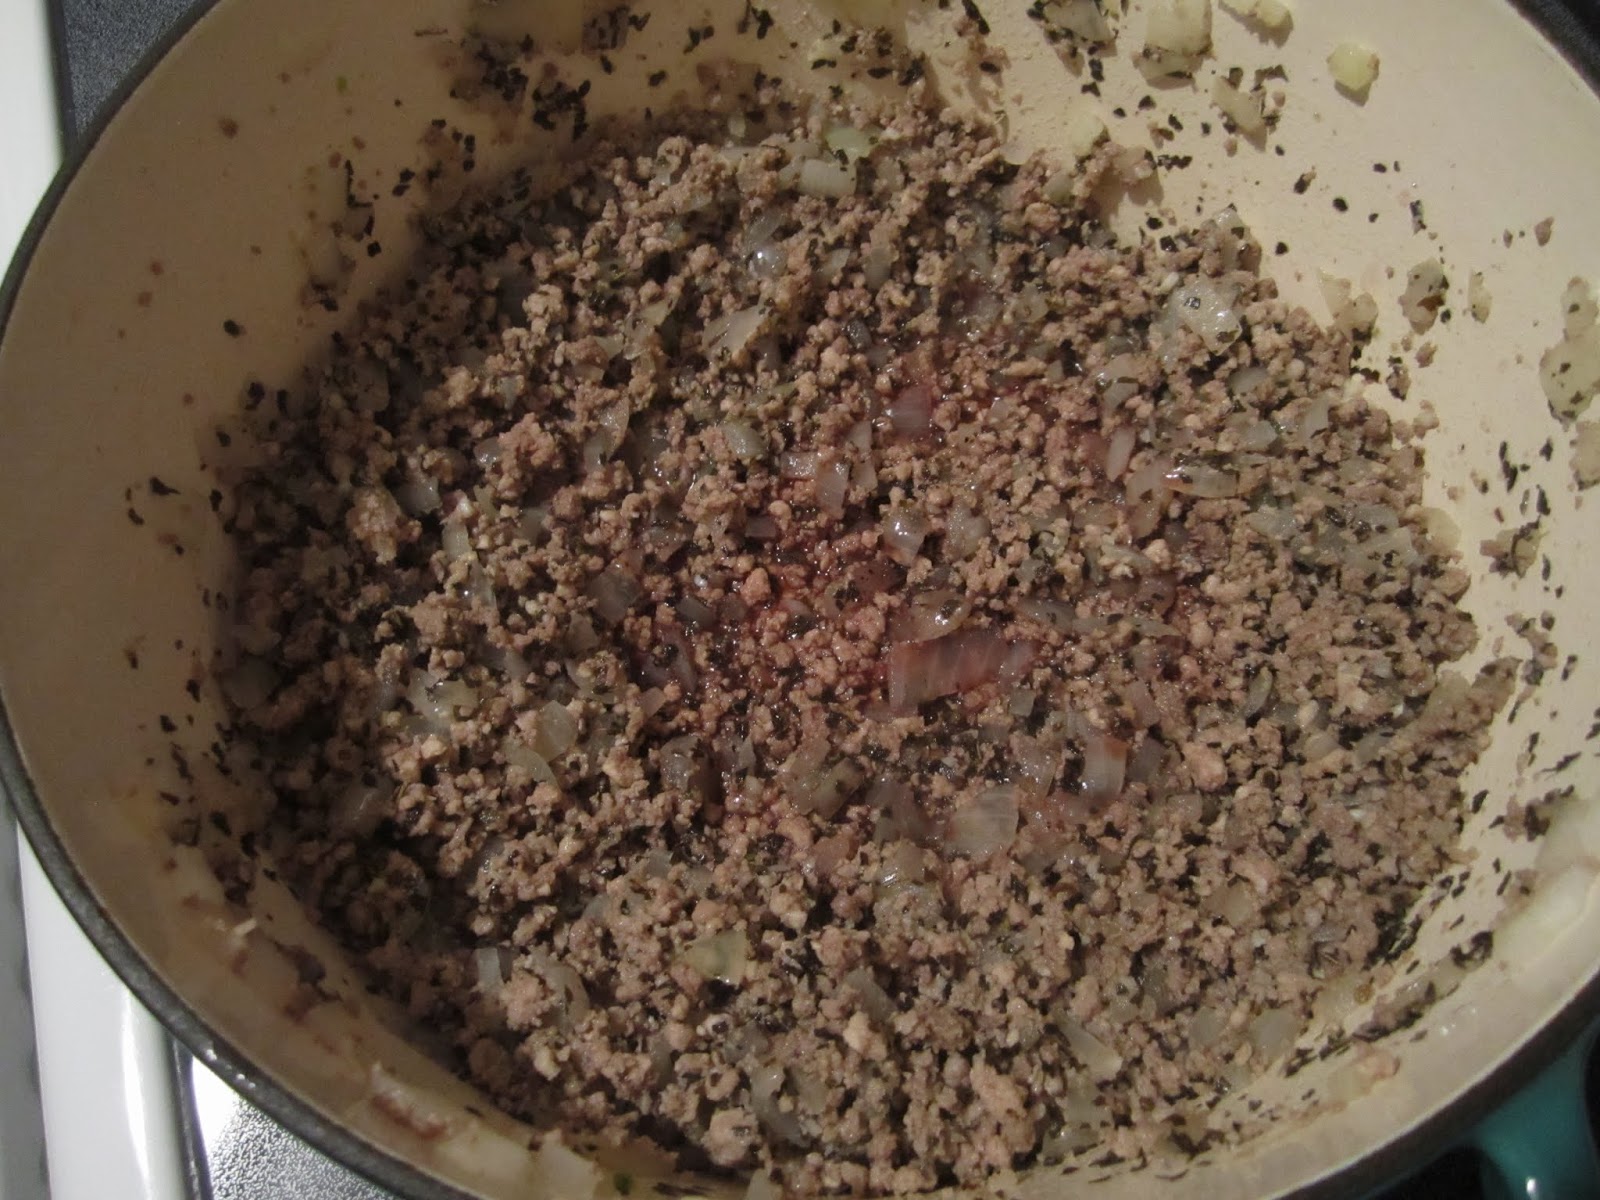
Once the meat is browned, add the onions.


Then the garlic.


The add the basil.  It looks like a LOT, but just stay with me.


Then the salt and pepper are next.


Stir in the red wine and cook until it's fairly evaporated.


Then add the crushed tomatoes.


And the tomato puree.


This is what the sauce looks like when you start out.


And this is what it looks like after three hours of simmering and stirring.  You don't need to pay TOO much attention to it, but it does need to be stirred so it doesn't burn.


And then after is sits in the fridge overnight.


It's kind of beautiful isn't it.

After it was done, I portioned out two heavy duty freezer bags with 5 cups each (the amazing lasagna bolognese that I LOVE uses 5 cups).  I had about two cups left over, so I portioned out about two 3/4 servings to have for supper over a couple of nights.  Needless to say - it make a LOT.

The first time I made this, I couldn't buy tomato puree, so I had to improvise.  But now - for whatever reason (I'm NOT complaining) - the grocery stores have suddenly started carrying it - even here in my little border city.  It'll probably be labelled as "strained tomatoes".  BUT - if you can't find tomato puree to purchase, you can improvise with this recipe.

I hope that you enjoy this as much as I do!